KTabS Tutorial - Configuring Kalimba Tablature


When you open the KTabS program for the first time, the first thing you will want to do is click the "New" icon on the Top Toolbar. This will open the "Kalimba Configuration" window. This window allows you to perform many vital KTabS functions. You can use this window to:
Below is a diagram of the KTabS "Kalimba Configuration" window, followed by more detailed information on how to use this window.


C3 - Note Style (for printed music)
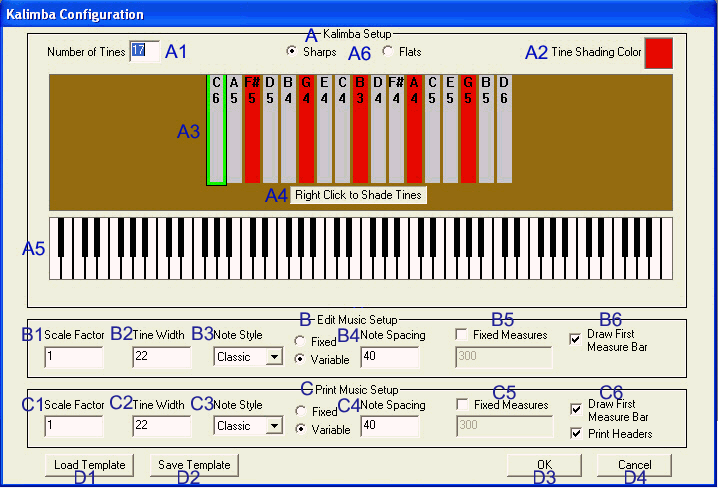
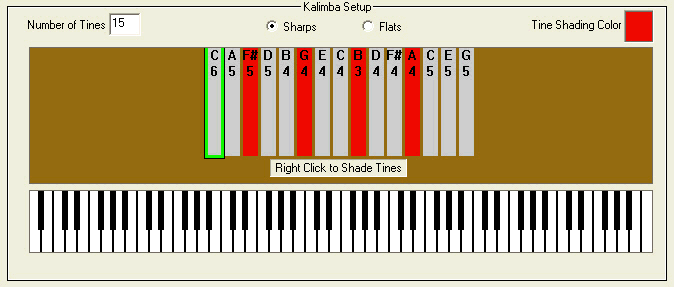
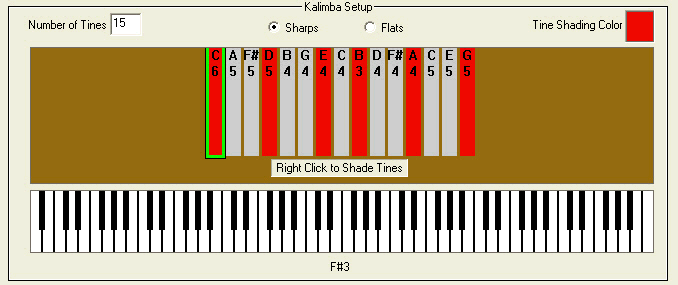
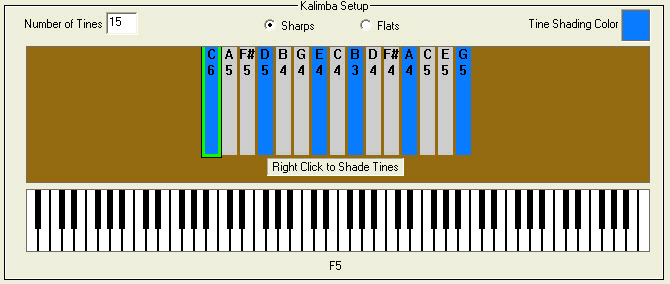
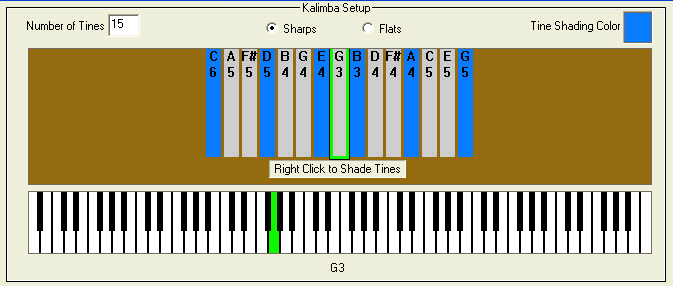
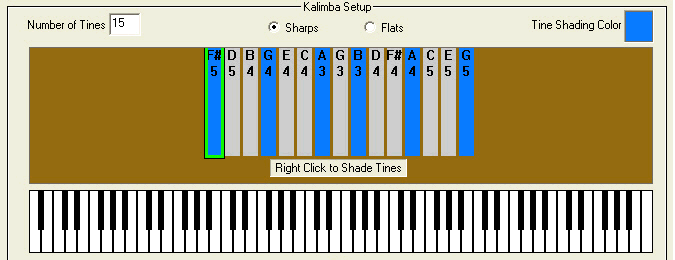
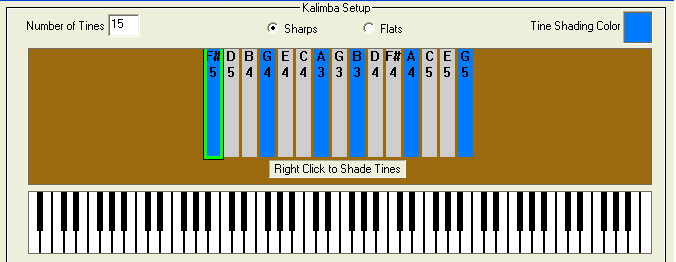
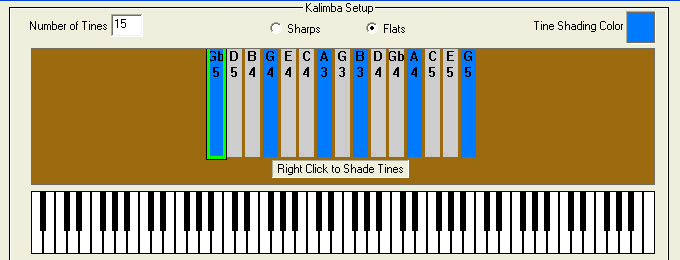
A - Kalimba Setup Section 
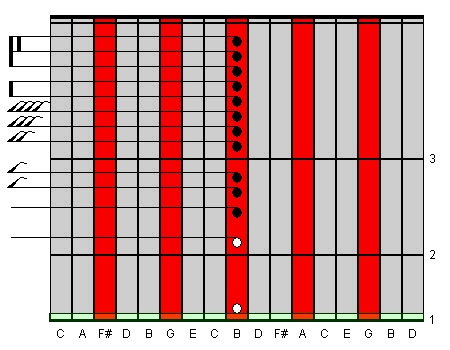
B3 - Note Style (when editing music)
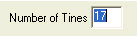
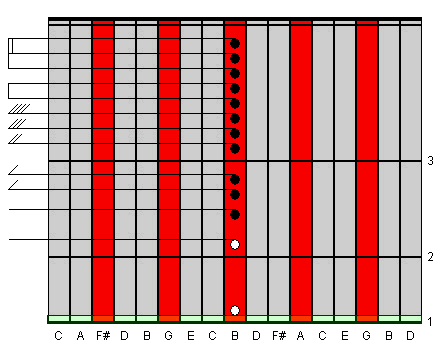
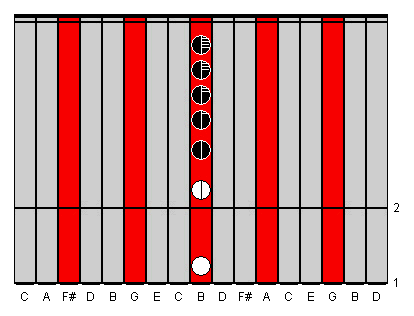
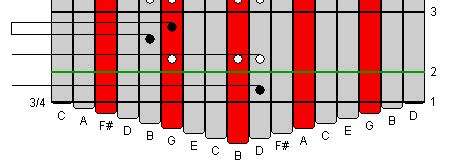
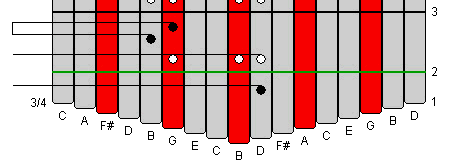
A1 - Number of Tines B4 - Note Spacing (when editing music)
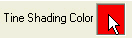
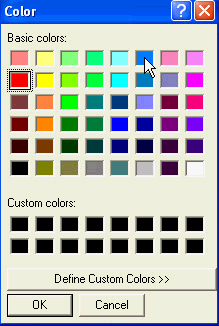
A2 - Tine Shading Color 
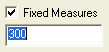
B5 - Fixed Measures (when editing music)
A3 - Kalimba Tines B6 - Draw First Measure Bar (when editing music)
A4 - Right Click to Shade Tines C1 - Scale Factor (for printed music)
A5 - Piano Keys C2 - Tine Width (for printed music)
A6 - Sharp/Flat Choice
B - Edit Music Setup section C4 - Note Spacing (for printed music)
B1 - Scale Factor (when editing music) C5 - Fixed Measures (for printed music)
B2 - Tine Width (when editing music) C6 - Draw First Measure Bar (for printed music)
C6 - Print Headers

D1 - Load Template
D2 - Save Template
D3 - OK
D4 - Cancel

Kalimba Setup


The Kalimba Setup portion of the "Kalimba Configuration" window is for you to enter information about your kalimba.  It is currently configured for a 17 tine kalimba in the key of G, with a range of B3 to D6, and with five red tines. If this is the type of kalimba you have, then you don't need to make any changes to the Kalimba Setup portion of the window.

If you have a different type of kalimba, it is easy to make changes.

Let's say we have a 15 tine kalimba with blue tines and a range of G3 to G5.

First, we can enter the number of tines our kalimba has.

Number of Tines


Use this box to enter how many tines your kalimba has.  You can enter a number as low as 3 and as high as 34. Once you have entered a number, click anywhere on the window or press "Enter" on the computer keyboard to change the number of tines in the picture to your new number.

Example: We have entered "15" in the box and pressed "Enter" on the computer keyboard.  Now our Kalimba Setup looks like this:


Tine Shading

To change which tines are shaded in the kalimba picture, right click on the unshaded tines that you want to shade and right click on the shaded tines that you want to unshade.

Example: This is the correct shading for our 15 tine kalimba.


Tine Shading Color

To change the color of the shaded tines, click the "Tine Shading Color" Box.


A box will open that allows you to pick a new color.  We will pick one of the blues that looks like our kalmba.


Now our tines look right, but the notes on the tines are not the correct notes for our kalimba.  We can change the value of these notes.

Assign Note Values Using Kalimba Tines and Piano Keys

To change the note values assigned to the kalimba tines, first click the kalimba tine you wish to change.  You will see a green outline around that tine.  Then click the keys on the piano keyboard picture and find the note that matches the note you want your selected kalimba tine to play.  Clicking a note on the piano picture will changed the assigned note value of the selected kalimba tine.

Here we have changed the value of the center note to G3.


Now we have changed all of the tines to their correct values for our kalimba.


Sharp/Flat Choice

As a default, any of the black piano keys that you selected for your kalimba tuning will be displayed as sharps. If you would like to see them as flats, just click the circle next to "Flats" and the display will change.


Edit Music Setup

The next section of the "Kalimba Configuration" window is titled "Edit Music Setup".


This section allows you to define how you want your kalimba tablature to look on your computer screen while you are editing music.

Print Music Setup

Below the Edit Music Setup is the section called "Print Music Setup".


You have identical choices in this section as you do in the Edit Music Setup (plus the "Print Headers" option). The difference is, any changes you make to the "Print Music Setup" will change the look of your tablature when it is printed out. Changes you make to the "Print Music Setup" can be viewed by selecting "Print Preview" from the Edit menu.

Scale Factor


Increasing the number will increase the overall size of the tablature, while decreasing the number will decrease the overall size of the tablature.

Tine Width


This number defines the width of the kalimba tablature.  This number can be set as low as 10 and as high as 30.

Tablature with the default width of 22.


Tablature with the smallest width of 10.


Note Style


There are three types of note styles - "Classic", "Minimal", and "Modern".

"Classic" style notes have curved stem flags and the beams connecting notes are bold, similar the way notes look in traditional music notation.


"Minimal" style notes have straight stem flags and the beams connecting notes are thin.


"Modern" style notes do not have stems, and their stem flags are drawn within the note itself, so you do not have to look to the left to track the note values.


Note Spacing


In the note spacing section you can choose between "Fixed" Note Spacing and "Variable" Note Spacing.

With "Fixed" Note Spacing, the space between all notes on the tablature will be the same, regardless of a note's duration.


With "Variable" Note Spacing, the spacing of each note will be proportional to its duration; for example, a whole note will have more space after it than every other note.


The spacing between notes in both "Fixed" Note Spacing and "Variable" Note Spacing mode can be adjusted by changing the number in the Note Spacing box.  The default note spacing is 40 pixels.  Increasing this number increases the spacing between notes, and decreasing the number decreases the spacing between notes.

Fixed Measures


You can make all the measures of your tablature the same size by clicking the "Fixed Meaures" box.  Once this box is checked, you can then change the size of the measures by changing the number in the box.  The default setting is 300 pixels.  Decreasing this number will decrease the size of the measures, while increasing this number will increase the size of the measures.

Draw First Measure Bar


One of the final options in the Music Setup section is "Draw First Measure Bar".  When this box is checked, the tablature will have a barline at the beginning of the first measure.  Uncheck the box if you do not wish to display a barline at the beginning of the first measure.  Even if the barline is not displayed, you can still make changes to that barline, such as adding a time signature.

First measure bar is drawn (numbered 1 in picture).


First measure bar is not drawn.


Print Headers


When you enter authorship information for a music file (title, author, copyright), this information as well as page numbers will normally be printed as headers and footers in your music. If you do not wish this information to be printed with your sheet music, then just uncheck the "Print Headers" box.

Save Template


Click the "Save Template" button at the bottom of the "Kalimba Configuration" window to save all the information you have entered.  A "Save" window will open.  You can name your template and save it to your computer.  KTabS template files will receive the .ktt file extension.

Load Template


You can load a template you have saved by clicking the "Load Template" button at the bottom of the "Kalimba Configuration" window.  Select the template you wish to load and click "OK".

Making Changes to the Configuration

Once you have clicked "OK" in the "Kalimba Configuration" window and opened up kalimba tablature, you can still make changes in the "Kalimba Configuration" window.   Click the "Configuration"  icon on the Top Toolbar to open the "Kalimba Configuration" window. 

Note:  Once you have started entering notes into your kalimba tablature, you can no longer reconfigure the number of tines.  If you wish to change the number of tines shown in your tablature, you should open a new document and enter the new kalimba configuration

Other Tablature Options

Once you have clicked "OK" on the "Kalimba Configuration" window and opened blank tablature, you have a few more choices about the look of your tablature.  Towards the right side of the Top Toolbar are four icons that will change your tablature. 

Tine Labels - clicking this icon will change whether the tines are labeled with their corresponding note

With Tine Labels


Without Tine Labels


*Measure Numbers - clicking this icon will change whether the measures are numbered on the right hand side

With Measure Numbers


Without Measure Numbers


Lyrics - clicking this icon will change whether any previously added lyrics will be displayed or not.

V Shaped Tines - clicking this icon will change whether the bottom of the tines will be straight across with tines all one length, or V Shaped

Without V Shaped Tines


With V Shaped Tines


Center Line - clicking this icon will change whether there is a visible center line dividing the tablature into left and right sides

Without Center Line


With Center Line


You can save these settings as part of your template if you choose to. Once you have opened blank tablature and made any changes you want to the look of your tablature, click the "Configuration" icon on the Top Toolbar. Click the "Save Template" button on the "Kalimba Configuration" window to save all of your settings as a template.

< Previous    Contents    Next >


View Shopping Cart
Privacy |  Terms of Use |  EULA
KTabS Copyright © 2006 - 2010 By Randall W. Eaton All rights reserved. ktabs@theirhouse.org
(380550)